Custom hair clips with a logo are not created by adding a mark at the end of a product order. The logo area, material, clip shape, decoration method and packaging all affect whether the finished item looks intentional and whether the factory can repeat it consistently. For private-label buyers, branding decisions belong in the product brief before a sample is approved.
This guide explains how to brief, sample and approve custom hair clips with logo for a brand, retailer, salon group or promotional collection. It focuses on the practical choices that matter on acetate clips, claw clips and barrettes: where the logo belongs, what artwork to provide, how to compare application methods and what to record before bulk production.
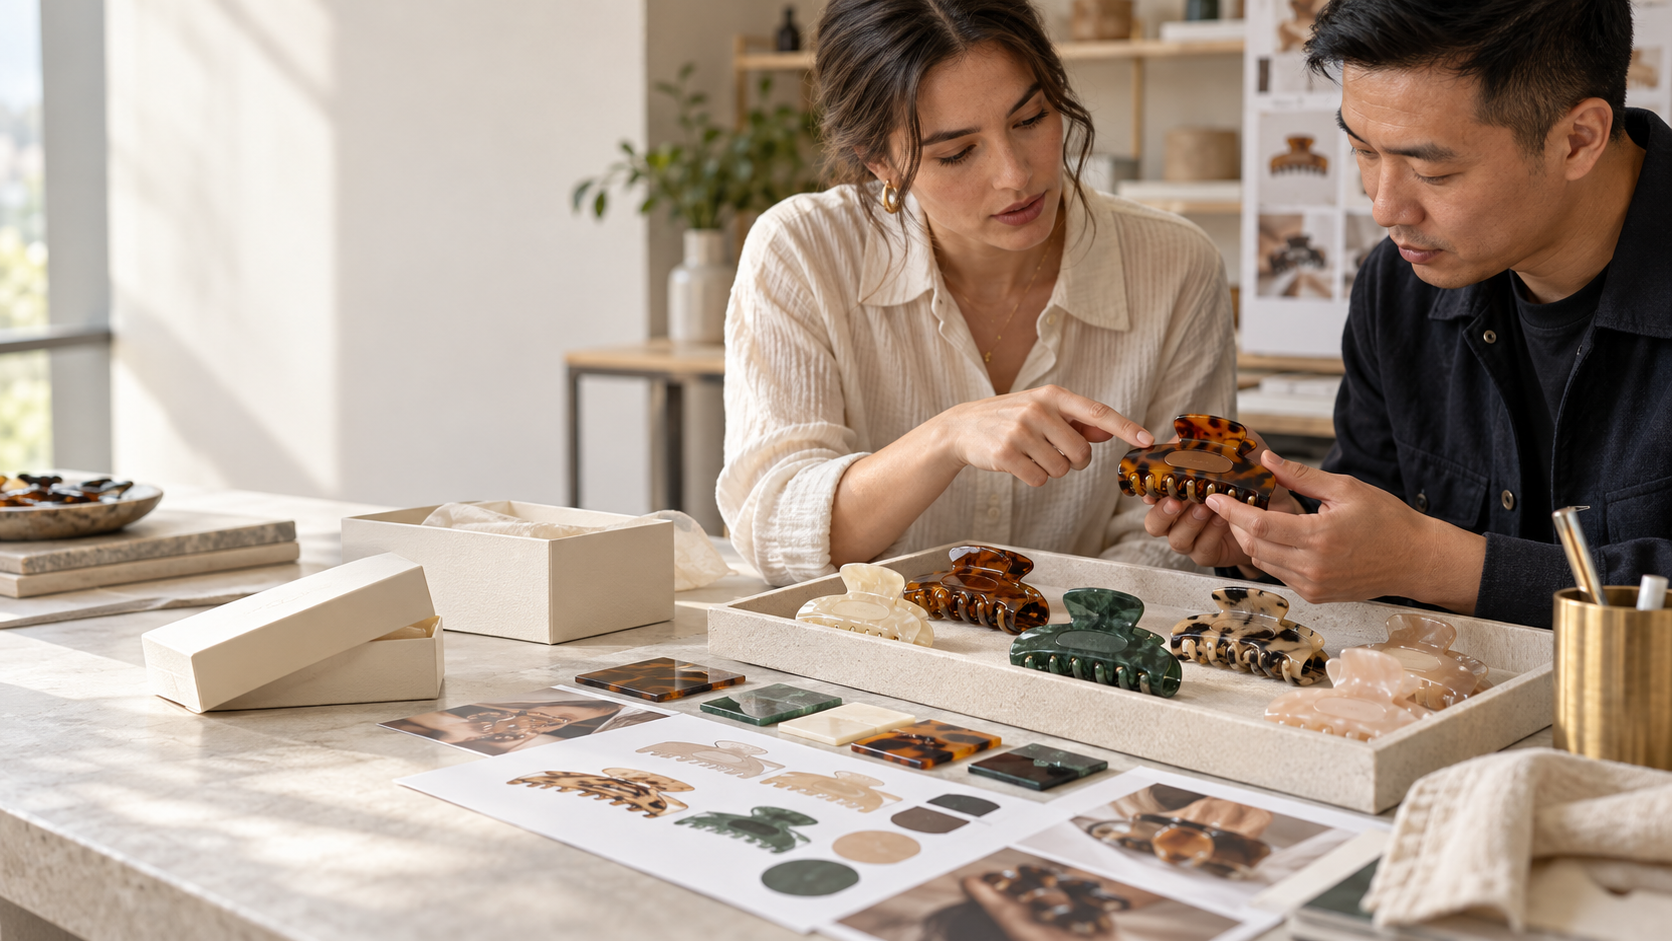
Choose the Product Surface Before Choosing the Logo Method
The clip itself decides what is practical. A broad, flat acetate face may allow a small mark in the centre or near the hinge. A narrow barrette, curved claw or highly patterned sheet gives less clear space and can make a detailed logo disappear. If a metal plate, rhinestone detail or irregular marbling is part of the design, it must be considered before the brand mark is positioned.
Begin with the product role and construction. A logo on a large claw clip may be intended to be visible at retail; a mark inside a barrette could be discreet proof of origin rather than a design feature. Both are valid, but they need different placement rules and quality checks. If you are still deciding which product body suits your collection, start with the hair clips and barrettes catalogue or explore a design route in the 3D customiser.
| Product situation | Useful logo direction | What to test on the sample |
|---|---|---|
| Broad acetate claw clip | Small centred mark, hinge-side mark or a controlled raised/insert detail. | Readability at normal viewing distance, alignment and effect on the front face. |
| Patterned acetate surface | Use a clear area or a restrained logo treatment that works with variation. | Whether the sheet pattern makes the mark disappear or look uneven across pieces. |
| Slim barrette or snap clip | Discreet logo on the back, base or packaging may be more realistic. | Legibility, edge clearance and fastening function. |
| Metal-trimmed or decorated clip | Coordinate logo location with the decorative focal point. | Visual balance and whether separate operations interfere with each other. |
| Gift box or retail card | Use packaging for a fuller brand story; keep the product mark proportionate. | Colour match, print position, barcode space and unboxing presentation. |
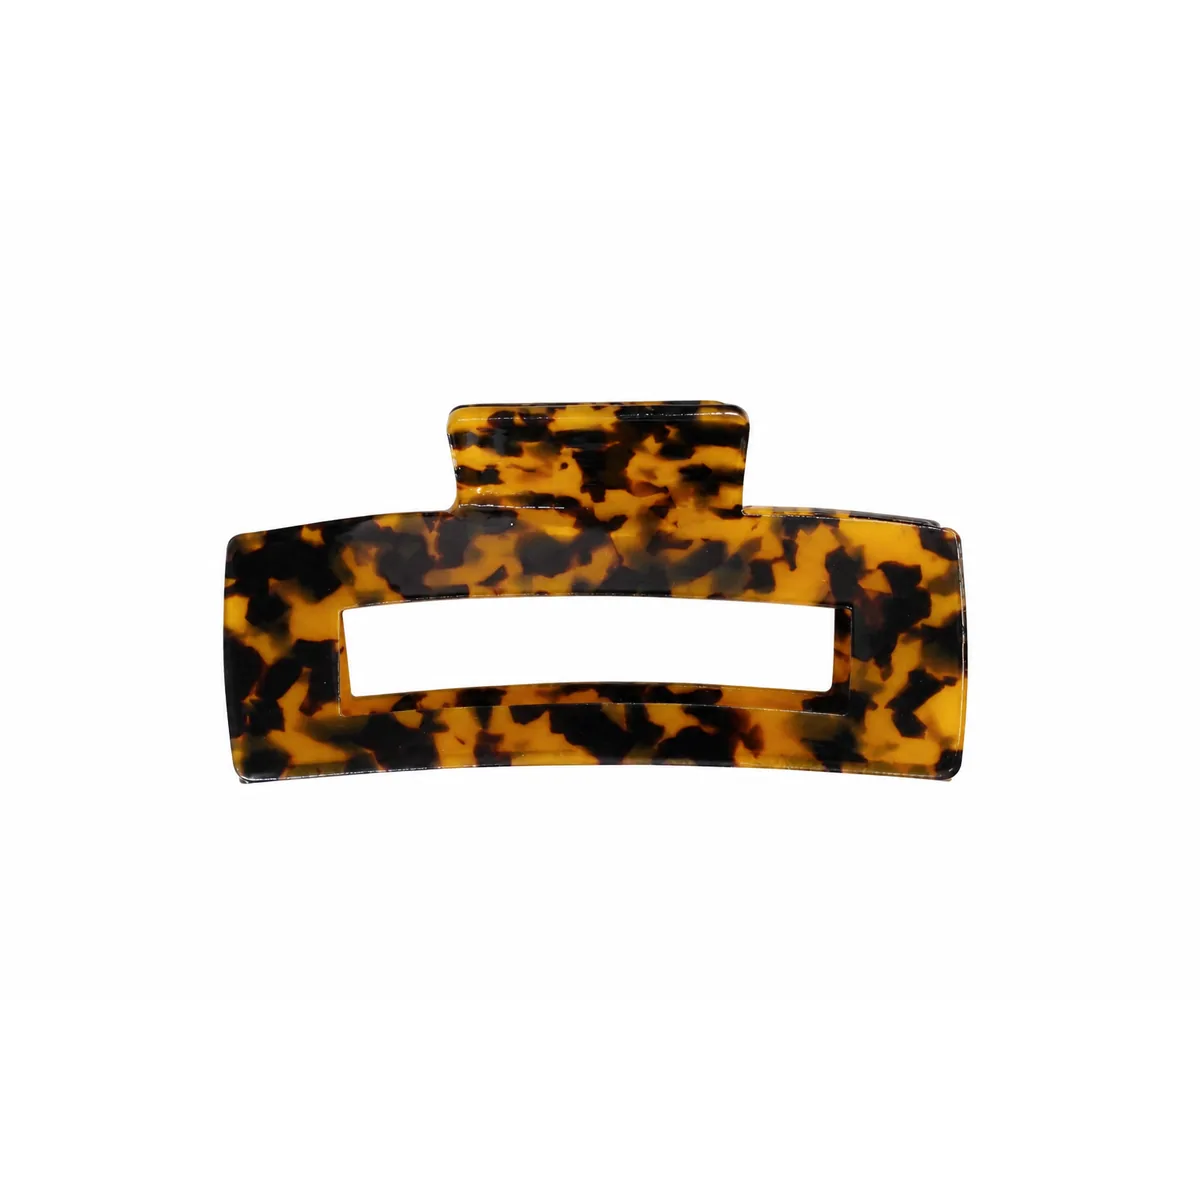
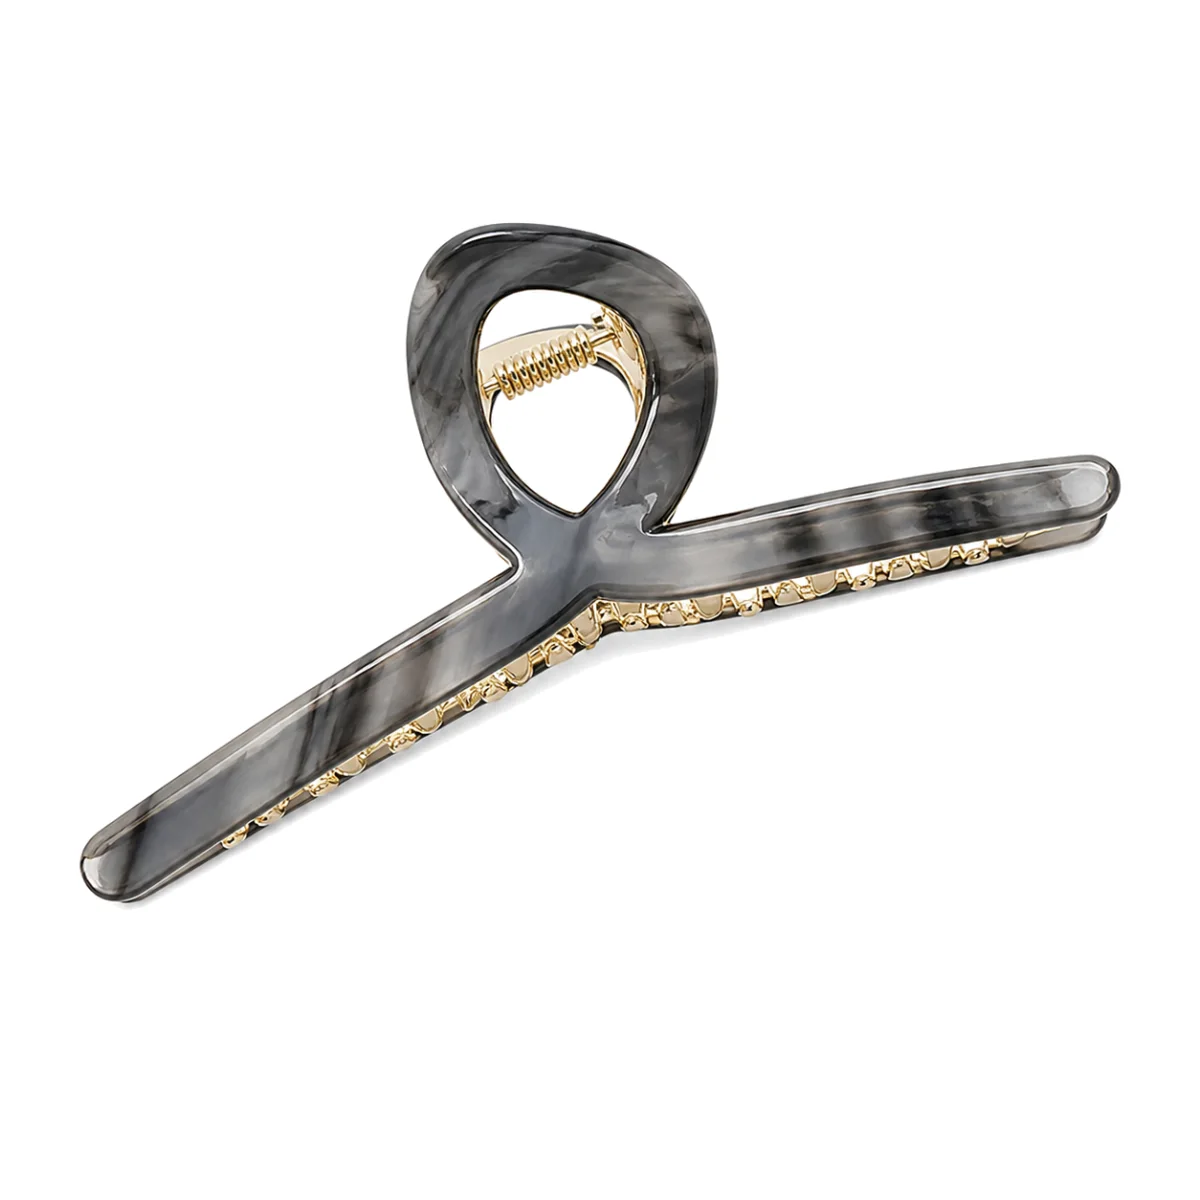
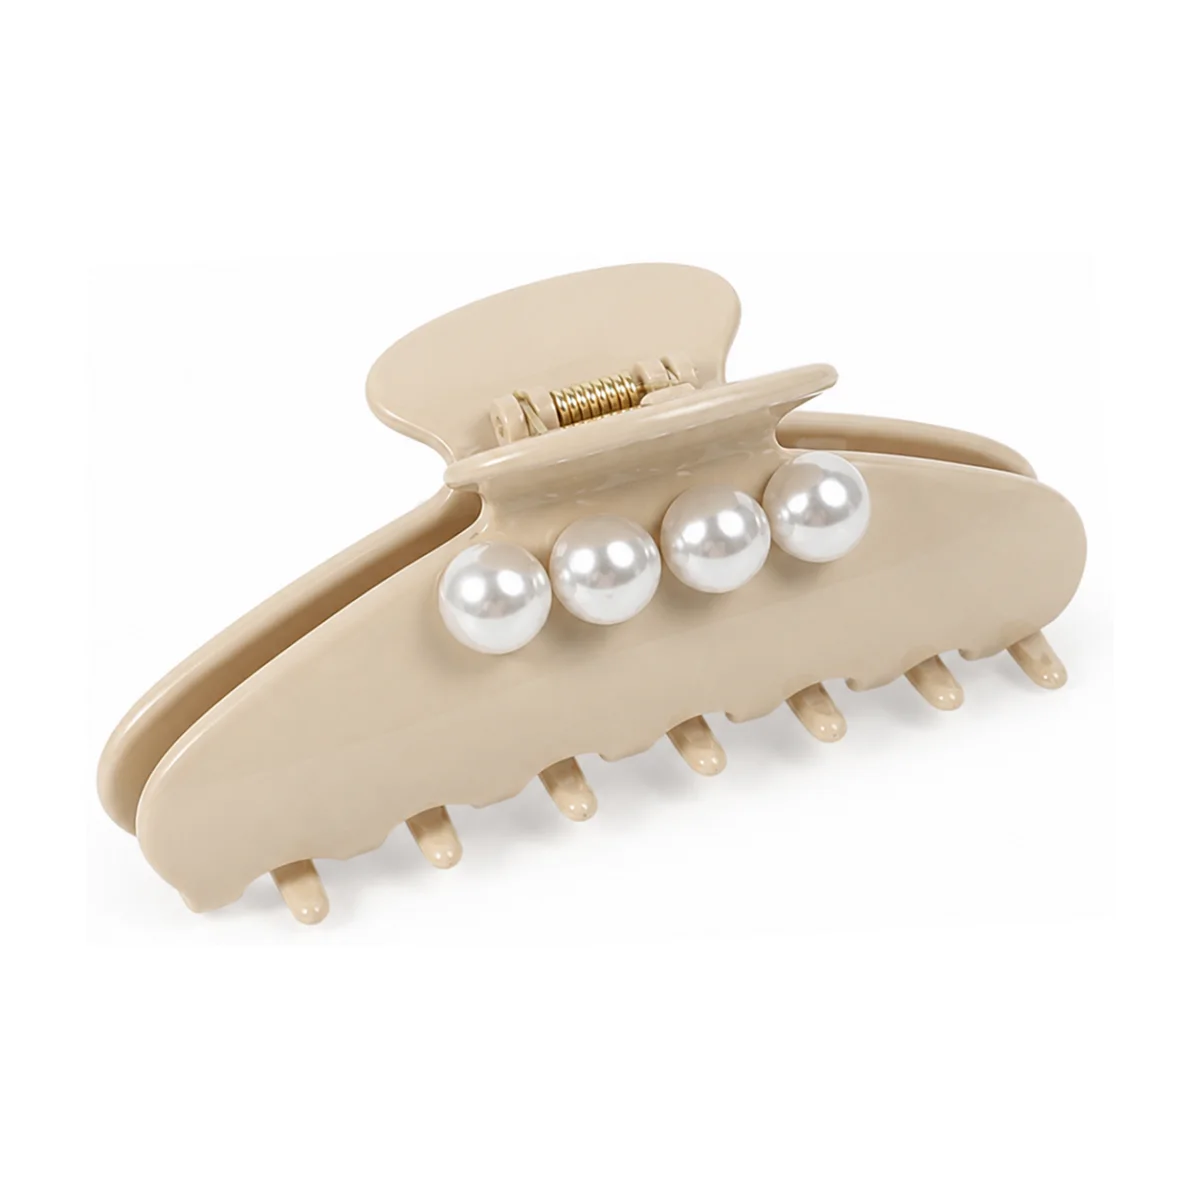
These product views show why logo treatment cannot be decided from one generic mock-up. A broad plain face, a varied marble sheet and a pearl-decorated design each need a different placement route. Click a product image to inspect the body before sending a logo brief.
Define What the Logo Is Meant to Do
Before sending artwork, decide whether your brand mark has a product function, a retail function or both. A product mark can support authenticity and repeat recognition. A retail mark can make a collection easier to display and photograph. Packaging can carry the fuller message—name, colourway, barcode and care information—without forcing too much detail onto a small curved accessory.
- Visible front branding: suited to a simple logo and a face with enough clear material around it.
- Discreet product branding: suited to a mark near the hinge, on the back or on a less visible surface.
- Packaging-led branding: suited to small products, patterned material and collections where the product should remain visually clean.
- Hardware or insert branding: suited to a design where the brand mark is a deliberate detail, not a late addition.
A useful brief describes the desired effect, not just the location. “A subtle heritage mark visible in a product photo” gives a different direction from “a discreet inside mark for repeat customers.” It helps the factory challenge an impractical placement before a sample is made.
Send Artwork That a Factory Can Use
Supply the cleanest available vector artwork, such as AI, EPS, SVG or a print-ready PDF. If that is not possible, send a high-resolution transparent PNG together with the intended physical dimensions. Do not rely on a screenshot taken from a web page or a photograph of another product; it can make line weights, spacing and small details impossible to reproduce accurately.
Alongside the artwork file, provide the following details in writing:
- The exact logo version to use, including any icon-only or one-colour version.
- Preferred width or height on each product body, with a maximum if the surface is limited.
- Placement reference: a marked-up product image, not only “front” or “centre”.
- Colour reference where relevant, ideally a recognised colour standard or approved physical sample.
- Whether the mark must be tactile, metallic, recessed, raised or simply visible.
- Packaging artwork, barcode position and mandatory label information as separate files.
Use version names that cannot be confused, such as Brand-Mark-Primary-v3.pdf and Retail-Card-Front-v2.pdf. When artwork changes, tell the factory which older file is superseded. This protects the sample and production record from accidental use of a previous logo version.
Approve Placement on a Physical Sample
A digital proof can confirm spelling and rough position, but it cannot show how a logo reads on a curved acetate surface or against a naturally varied tortoiseshell sheet. Approve the finished sample in normal light and at normal handling distance. Then inspect it closely for edge quality, consistent placement and any interference with the clip mechanism or decorative details.
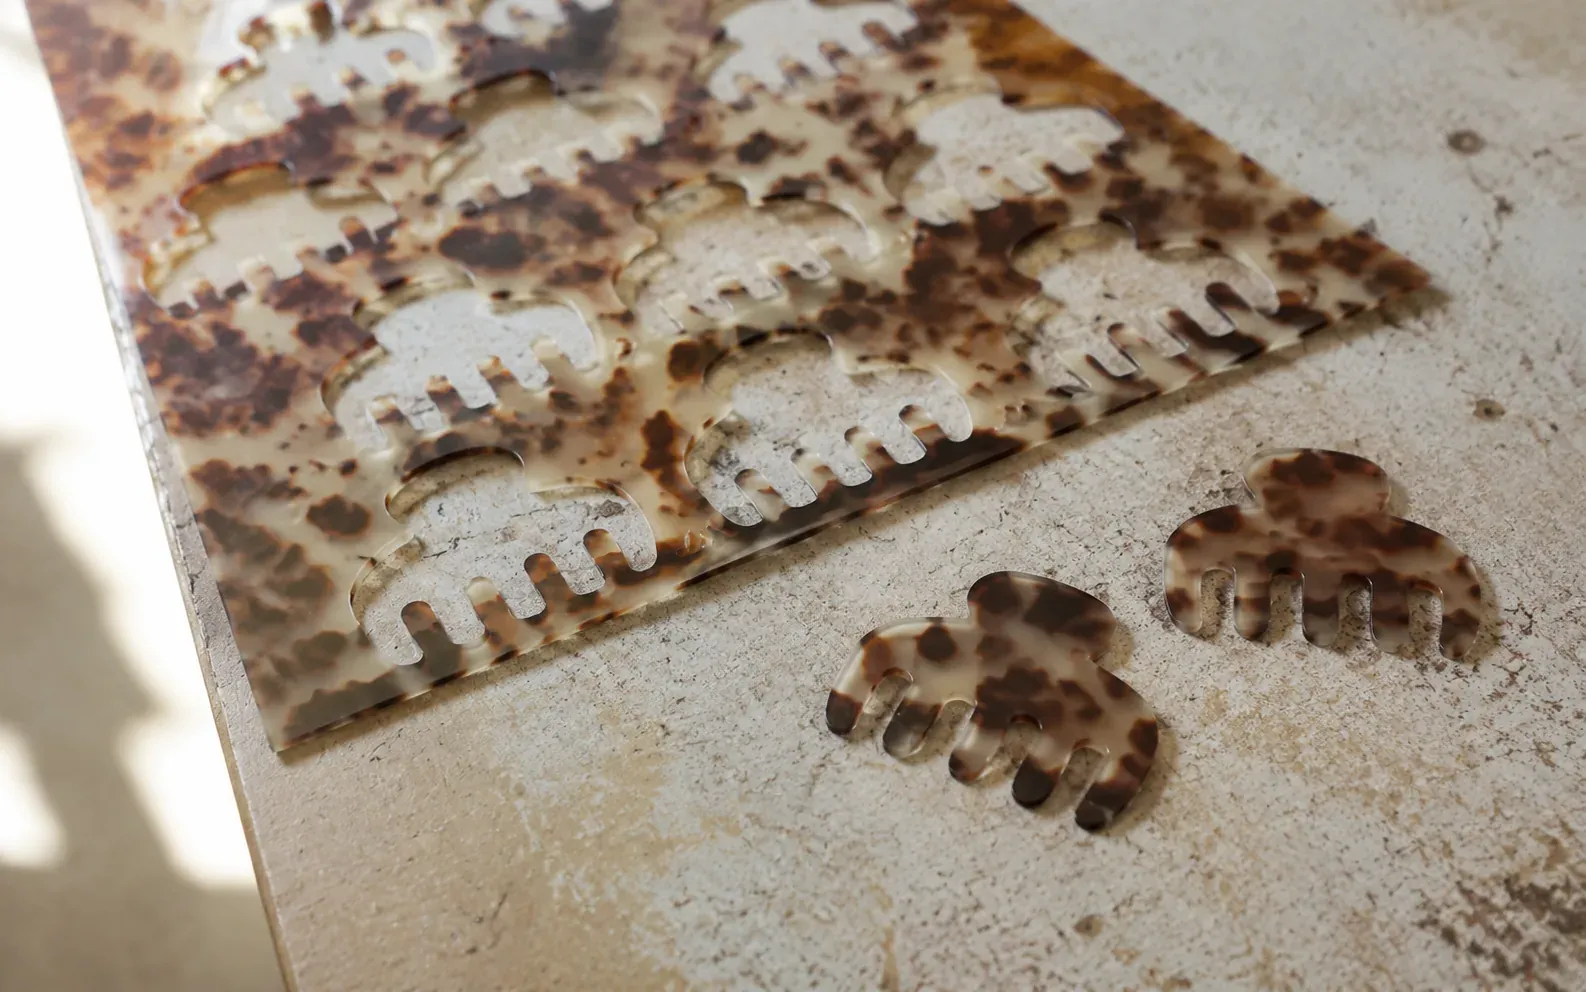
For patterned acetate, review more than one piece. The pattern is cut from the sheet and will vary, so one sample may put the logo over a calm area while another creates a busy background. Agree the acceptable result: perhaps a placement zone with enough contrast, a logo colour that remains legible, or a rule that avoids a particular sheet transition at the mark.
| Approval point | Observable acceptance rule |
|---|---|
| Position | Logo is centred or offset according to the marked reference, with a defined margin from the edge or hinge. |
| Scale | Logo matches the approved width or height and does not crowd decorative features. |
| Legibility | Key parts of the mark remain visible at normal viewing distance on the approved material family. |
| Finish | Edges are clean; no unwanted adhesive, scratching, misalignment or incomplete application is visible. |
| Packaging | Brand, item code and barcode are on the correct panel and remain readable after packing. |
Keep Logo, Material and MOQ in the Same Conversation
Custom branding can introduce separate setup, application or packaging work. A minimum is usually tied to the individual production run, so the quantity for each style and colourway matters. A buyer who combines several logo versions, several packaging variants and many small colour runs may create a very different production plan from the total piece count alone.
Ask for your quote to separate the body, selected material, logo method, packaging and any one-time development or setup assumptions. The MOQ guide for custom hair accessories explains why an order needs to be described by design and colourway. This clarity lets you decide whether the logo belongs on every SKU, only on a lead product, or primarily on the retail pack.
Create a Small Approval Pack Before Bulk Production
Once the sample is approved, assemble one shared approval pack for the buyer and factory team. It should include the final artwork, placement image, selected material or sheet reference, photograph of the approved sample, packaging proof, quantity by SKU and a short acceptance checklist. This gives quality control something specific to compare against when production begins.
- Approved sample photographs showing the logo from the front, side and relevant back or hinge view.
- Final artwork files and the exact version name approved for production.
- Dimensions and placement reference, with any allowed tolerance.
- Material and colourway reference, including what natural acetate variation is acceptable.
- Packaging artwork and packing arrangement.
- Inspection checks for logo clarity, placement, edge quality and product function.
Do not use vague acceptance wording such as “logo looks premium.” Record what can be observed: “mark is 12 mm wide and centred 8 mm from the upper edge,” “no mark overlaps the metal plate,” or “the logo remains clear against the approved dark tortoiseshell family.” These instructions are easier to inspect and easier to revise if the next sample needs adjustment.
When to Use an Existing Body and When to Develop a New One
An existing clip body can be a strong private-label starting point. It lets the team focus on material, logo, packaging and range planning while relying on a construction that has already been made and tested. A new mould or silhouette is appropriate when the shape itself is the brand’s point of difference, but it adds development and approval decisions that should not be hidden inside a general logo request.
If your collection needs a new form, use the 3D product customiser to narrow the product direction, then send a complete brief for feasibility. If the body is already selected, a logo and packaging review may be the more efficient route. In either case, pricing is most useful after the product, brand application and quantities are described together.
A Ready-to-Send Brief for Custom Hair Clips With Logo
- Selected clip styles or reference images, plus intended use and target customer.
- Material, colourway or acetate sheet direction for each SKU.
- Quantity per style and per colourway.
- Final logo artwork and marked placement reference.
- Preferred logo result: visible, discreet, tactile, metallic, raised or packaging-led.
- Retail packaging, barcode and label requirements.
- Destination country and requested delivery date.
For a practical logo-placement and production review, send your selected styles, artwork and planned quantities to the factory. A clear brief turns “can you add our logo?” into a sample that can be approved, inspected and repeated at production scale.
FAQs
Can I put my logo on any custom hair clip?
Not every surface gives a logo the same clarity. The shape, curvature, pattern, decoration and fastening all affect what is feasible. Share a selected body and placement reference so the logo route can be assessed before sampling.
What artwork should I send for a logo hair clip?
Provide vector artwork where possible—AI, EPS, SVG or a print-ready PDF—plus a marked product image, intended dimensions and any colour reference. Use a high-resolution transparent PNG only when vector artwork is unavailable.
Should the logo be on the clip or the packaging?
Often both have different jobs. A small product mark can support recognition, while retail packaging can carry the clearer brand and product information. The right balance depends on the available surface, material pattern and how the product will be displayed.