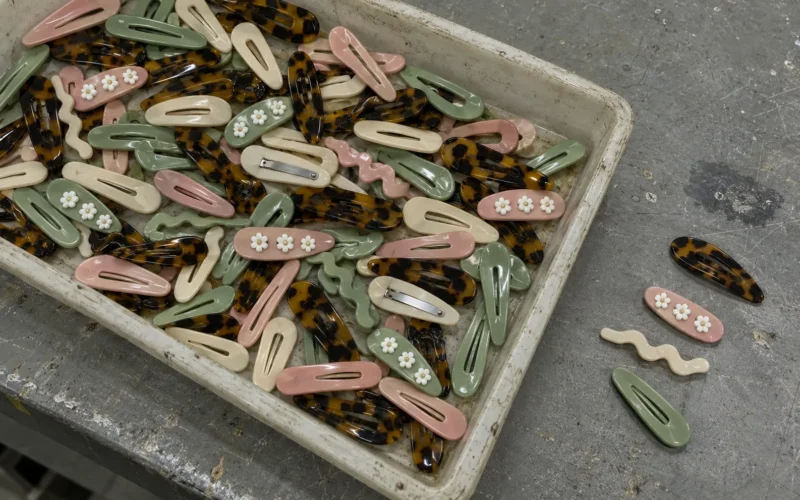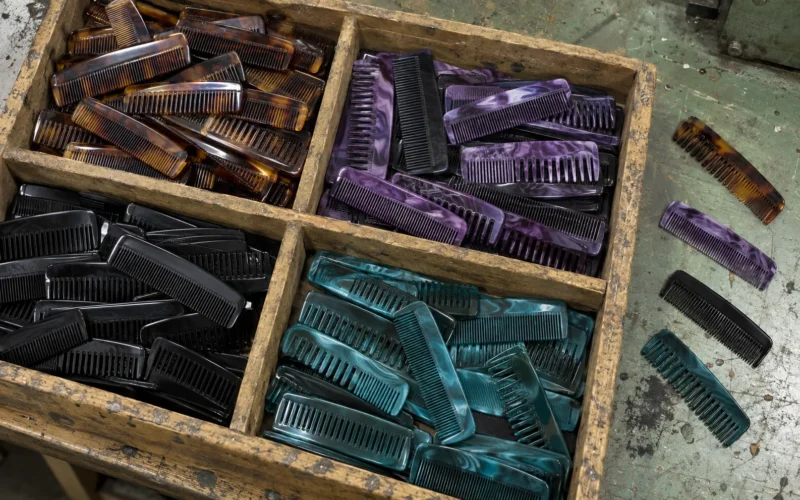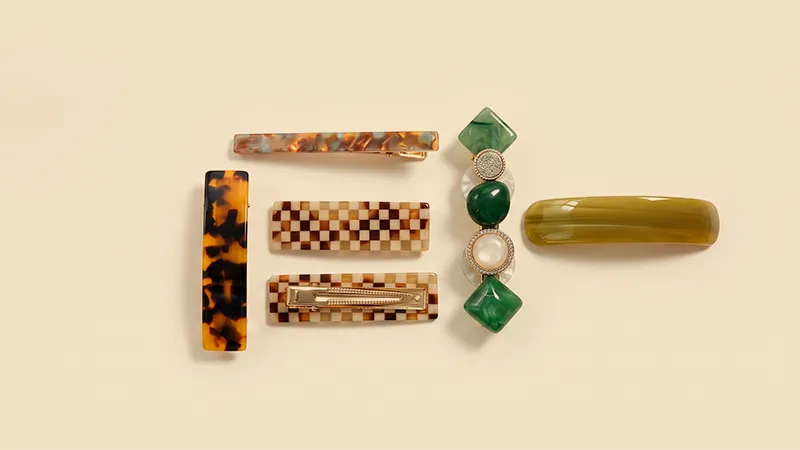
Buyers ask us for a “quick quote on acetate claw clips” almost every day. The reason a quick quote is hard to give is that cellulose acetate is not moulded — it is carved. Every clip starts as a solid sheet and ends as a finished product only after material is cut away, edges are worked, and the piece spends days in a polishing barrel. That single fact explains most of what buyers find confusing about acetate: why the lead time is longer than plastic, why the MOQ sits where it does, and why two suppliers quoting the “same” clip can be 40% apart on price.
This is the process as it actually runs on our floor, step by step, with the timings and decision points that affect your cost. If you are comparing acetate against injection-moulded plastic, our breakdown of acetate versus plastic covers the commercial side of that choice.
What Cellulose Acetate Is Before It Reaches Us
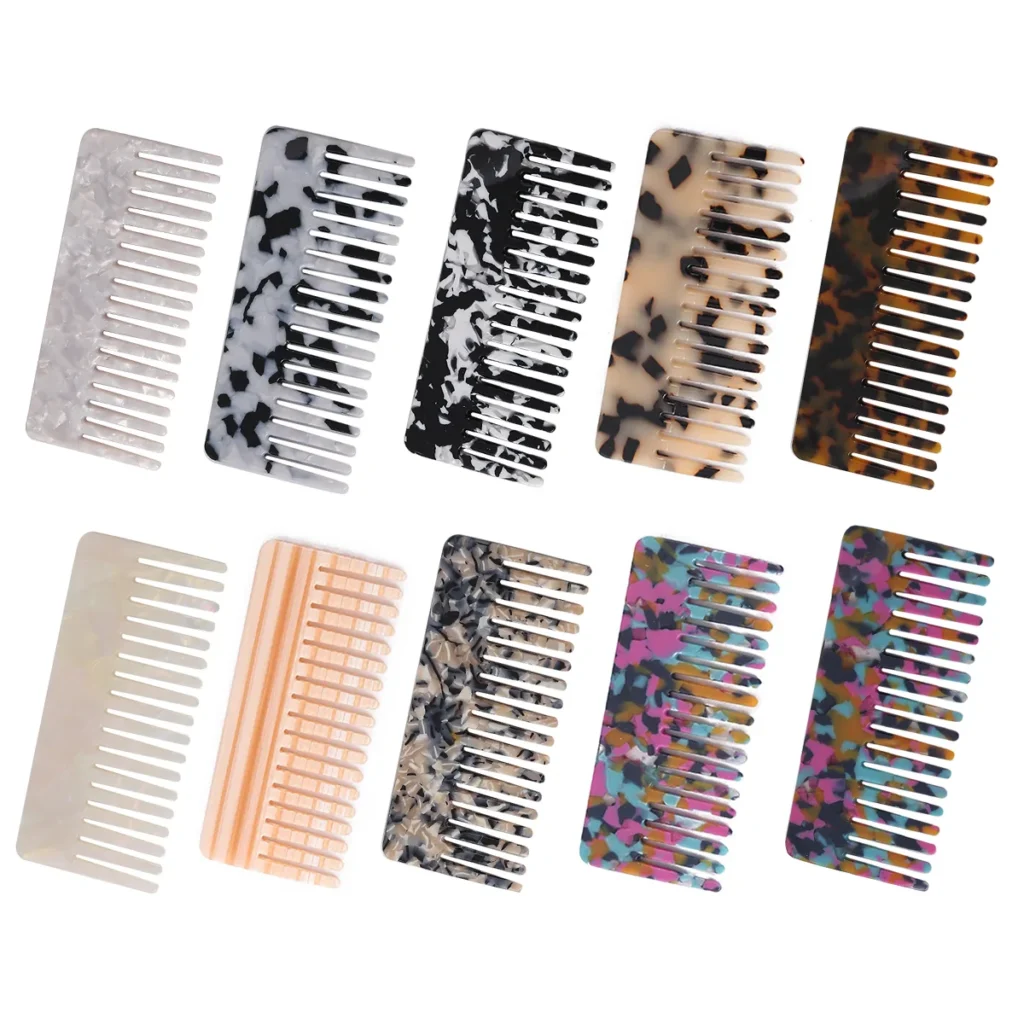
Cellulose acetate is made from purified wood pulp or cotton linter reacted with acetic acid, then plasticised and pressed into sheet. It arrives at our factory as flat stock, typically 3 mm to 12 mm thick, in a fixed catalogue of colours and patterns. Tortoiseshell, pearl, marble and translucent effects are laminated into the sheet at the mill — they are not printed or sprayed on afterwards. This is why an acetate clip shows depth and a moulded plastic clip shows a surface.
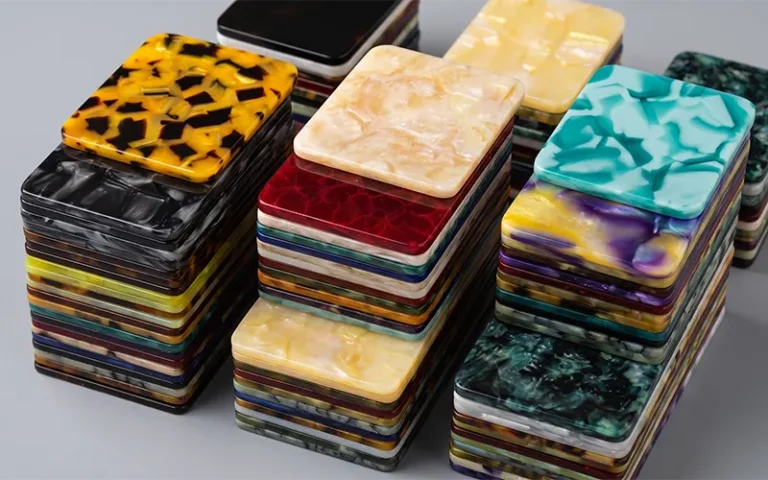
What this means for your order: pattern selection comes first, not last. If you want a colour that is not in the mill’s standard book, that is a custom sheet run with its own minimum — usually several hundred kilos, which is far more material than a first order needs. Nearly every brand we work with launches on stock patterns and reserves custom sheet for a second or third season.
Step 1 — Templating and Nesting
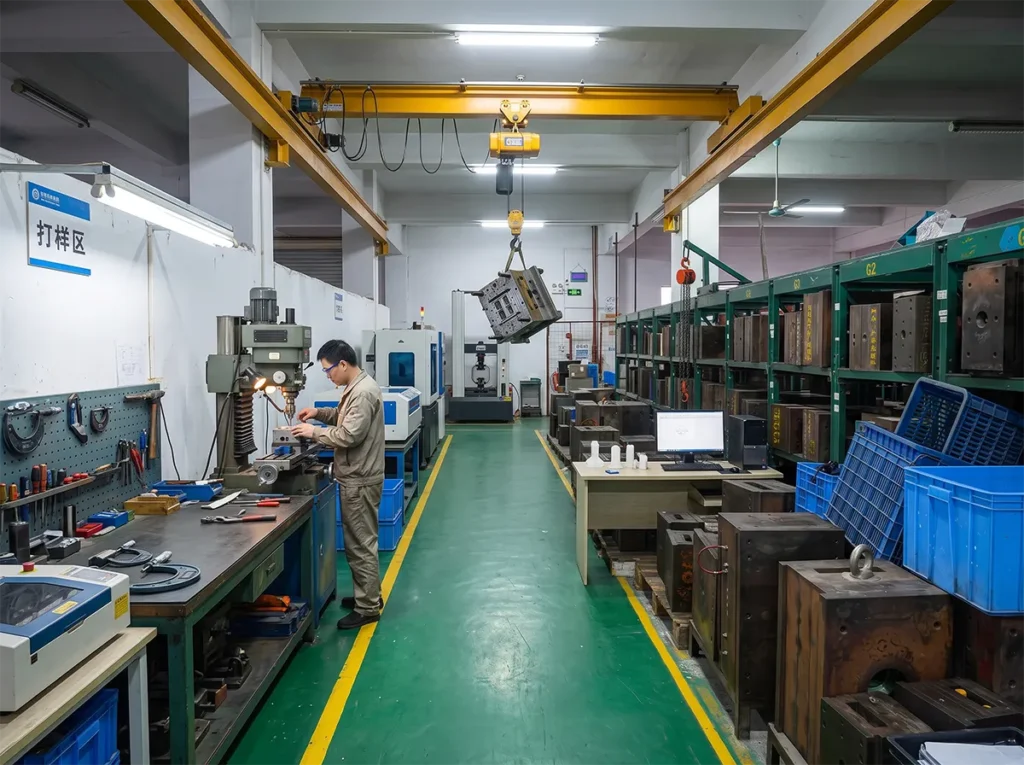
Your drawing is converted into a cutting file, and that file is nested — arranged on the sheet so that as many pieces as possible come out of one board. Nesting is where a quiet part of your unit cost is decided. A compact, closed shape nests tightly and wastes little. A long, sweeping shape with a wide arc leaves unusable material between pieces.
Acetate offcuts cannot be reground and re-shot the way plastic sprue can. Once material is cut away, it is gone. If your design is still flexible, this is the cheapest moment to adjust it — a 3–5 mm change in outline can move yield by several percent.
Step 2 — CNC Carving
Sheets are fixed to the bed and machined. This is a subtractive process: the outline is cut, the internal openings are cleared, and any sculpted relief on the face is carved in the same setup. Feed rates are kept deliberately low, because acetate scorches and hazes if the tool runs hot. A shop pushing the machine to hit a deadline leaves burn marks that no amount of polishing will fully remove.
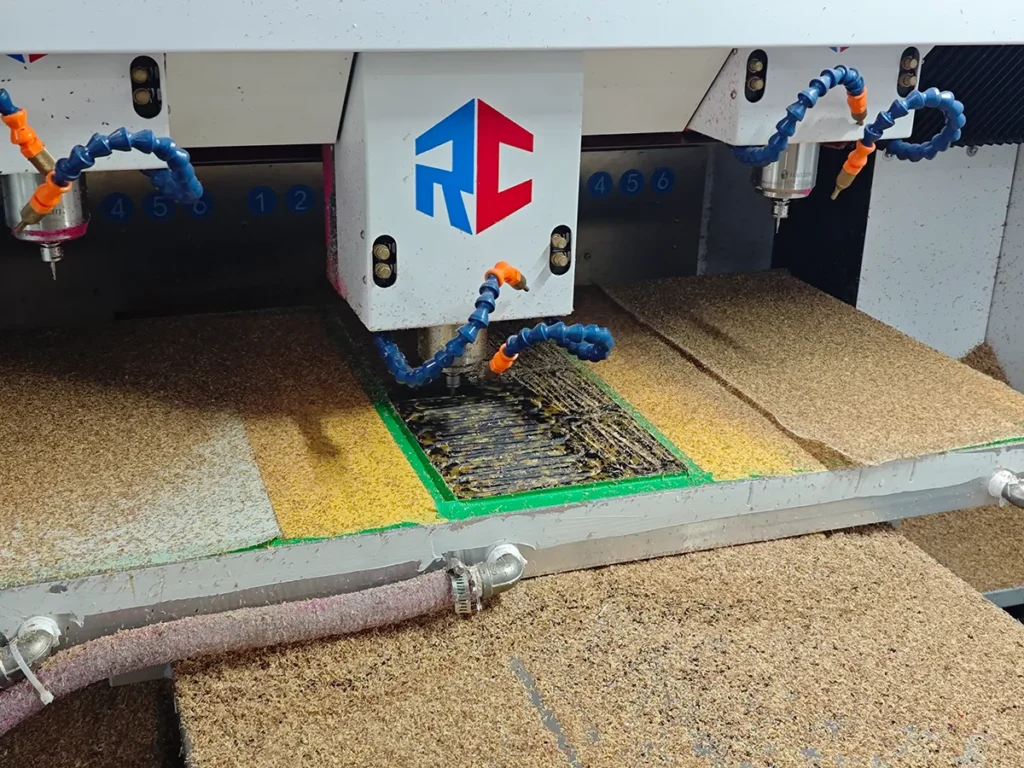
Because the geometry lives in a cutting file rather than a steel mould, acetate carries no tooling charge in the way injection moulding does. A new shape in plastic means a new mould and a four-figure investment before you see a single unit. A new shape in acetate means a new programme. That is why acetate suits brands that want several distinct shapes in modest quantities rather than one shape in tens of thousands.
Step 3 — Edge Work and Hand Shaping
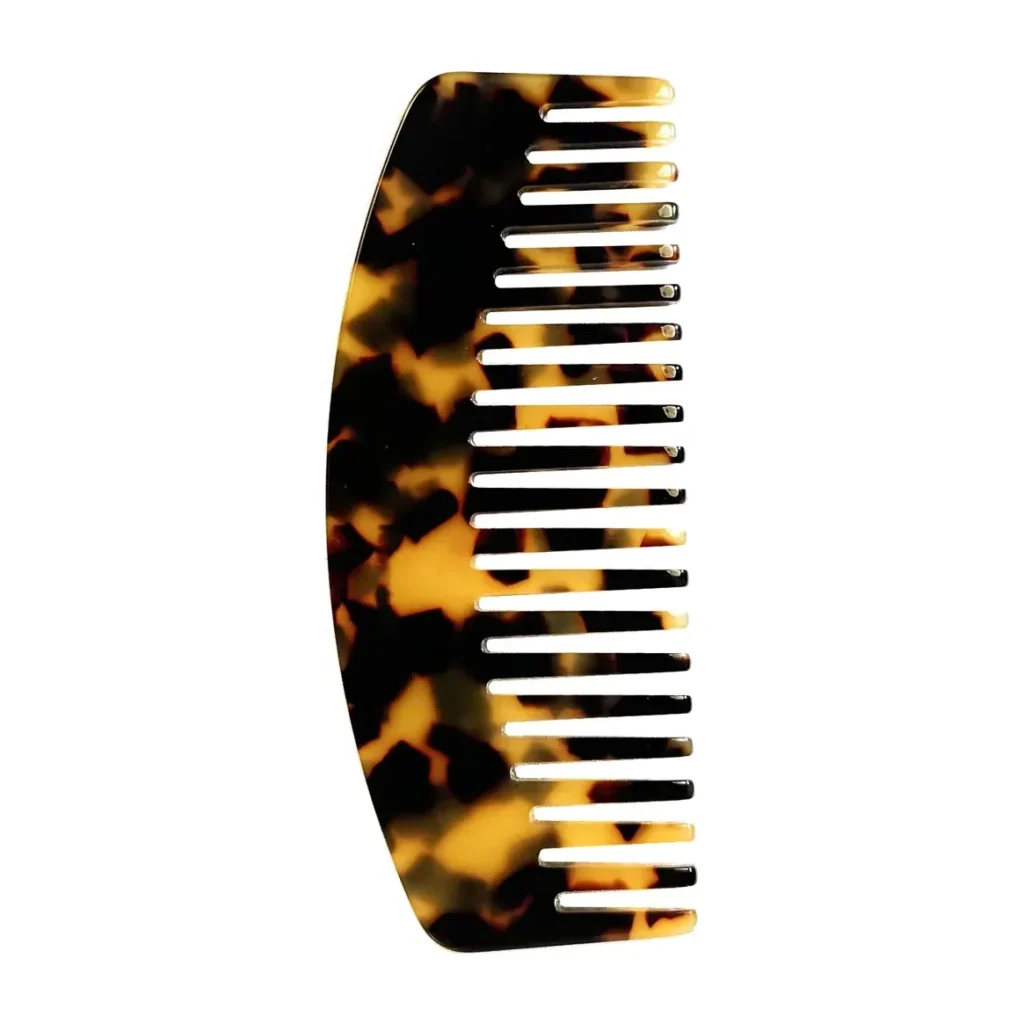
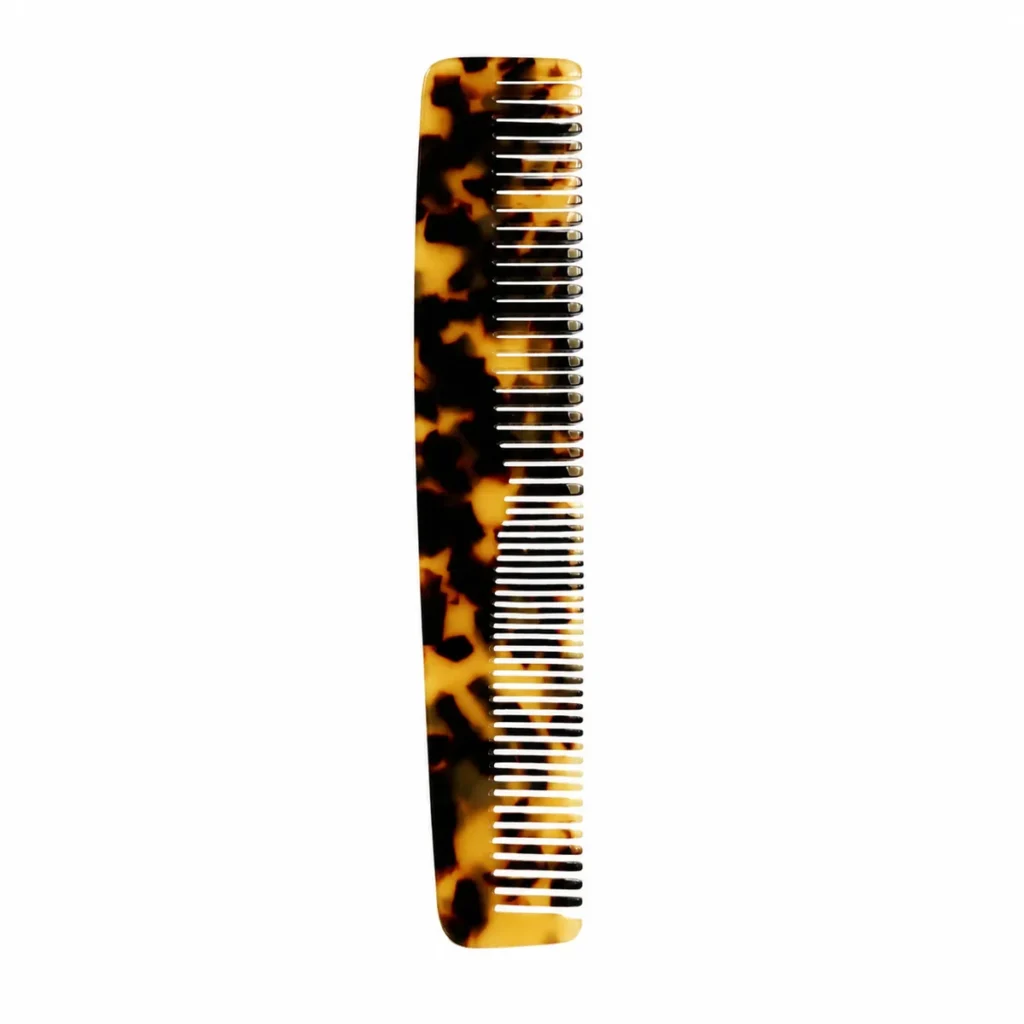
Off the machine, every piece has square edges and visible tool marks. Operators break the edges, round the profile, and blend any transition the cutter could not reach. On combs, each tooth is drawn across an abrasive to round its tip and its flanks — the difference between a comb that glides and one that scratches the scalp is made entirely here, by hand.
This step is the largest single block of labour in the whole process, and it is the first place a low quote gets cheap. When you receive samples from several suppliers, run a fingernail along the inside edges and between the teeth. Rushed edge work is easy to feel and impossible to hide.
Step 4 — Barrel Tumbling and Polishing
Pieces go into rotating barrels with wooden pegs, pumice and polishing compound, and they stay there for two to four days. Nothing is added to the surface — no lacquer, no coating. The gloss you see on a finished acetate clip is the material itself, brought up by days of gentle abrasion.
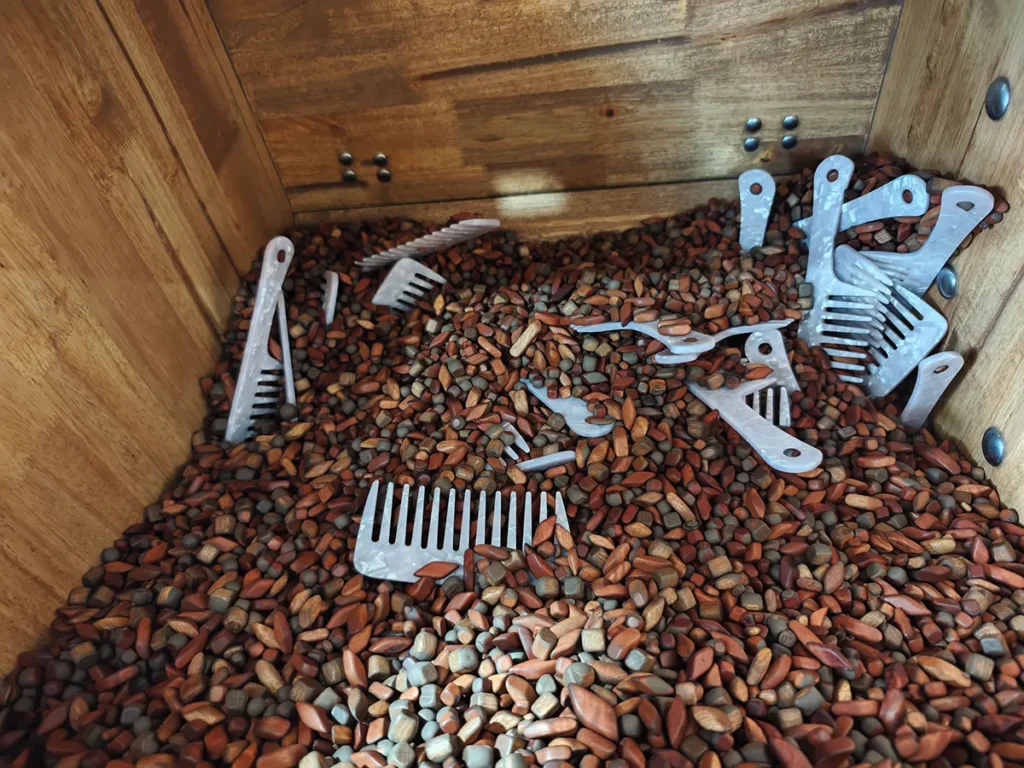
This is the honest answer to “can you make it faster?” The barrels cannot be rushed without dulling the finish, and they run in fixed cycles. It is also why an acetate surface survives daily use: a coating wears through and shows the substrate underneath, while a polished acetate surface stays the same material all the way down and can be re-polished years later.
Step 5 — Branding
Logos go on after polishing, because polishing would remove them. Three methods are practical on acetate:
| Method | Looks like | Best on | Durability |
|---|---|---|---|
| Recessed engrave + ink fill | Crisp coloured mark sitting below the surface | Clips, barrettes, comb spines | Highest — the mark is physically protected |
| Laser engrave, no fill | Subtle tonal mark, no added colour | Dark and tortoiseshell patterns | High |
| Hot foil / pad print | Metallic or opaque mark on the surface | Flat faces, gift-led ranges | Moderate — sits on top |
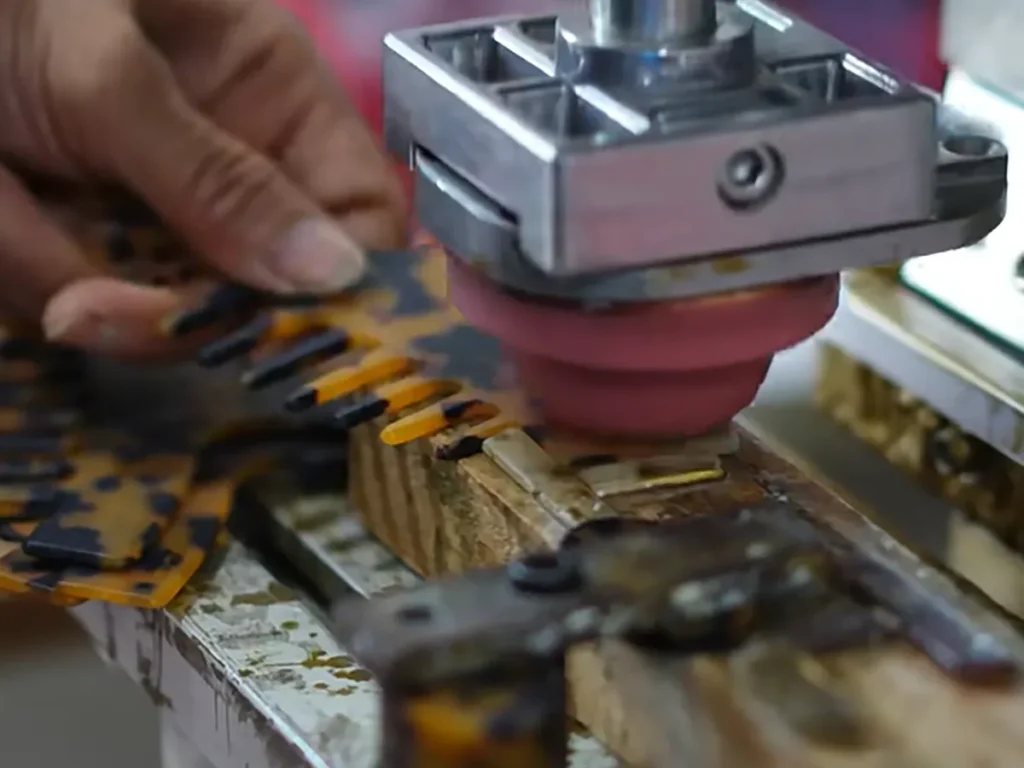
Send vector artwork, not a JPG. Very fine serifs and hairlines below roughly 0.3 mm will close up once ink is drawn into the recess, so most brands supply a simplified mark for small products.
Step 6 — Hardware Assembly
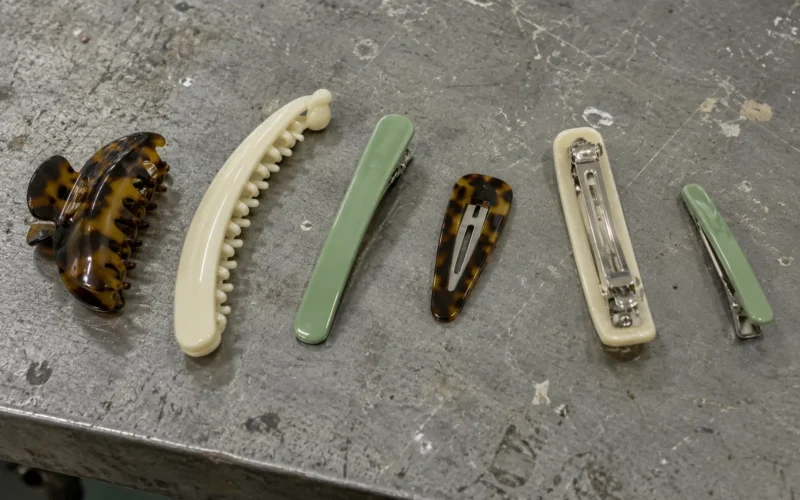
Claw clips and barrettes need metal. Springs, pins and barrette bases are fitted by hand, and the spring tension is checked against a reference sample rather than a specification sheet, because “grip” is something buyers judge by feel.
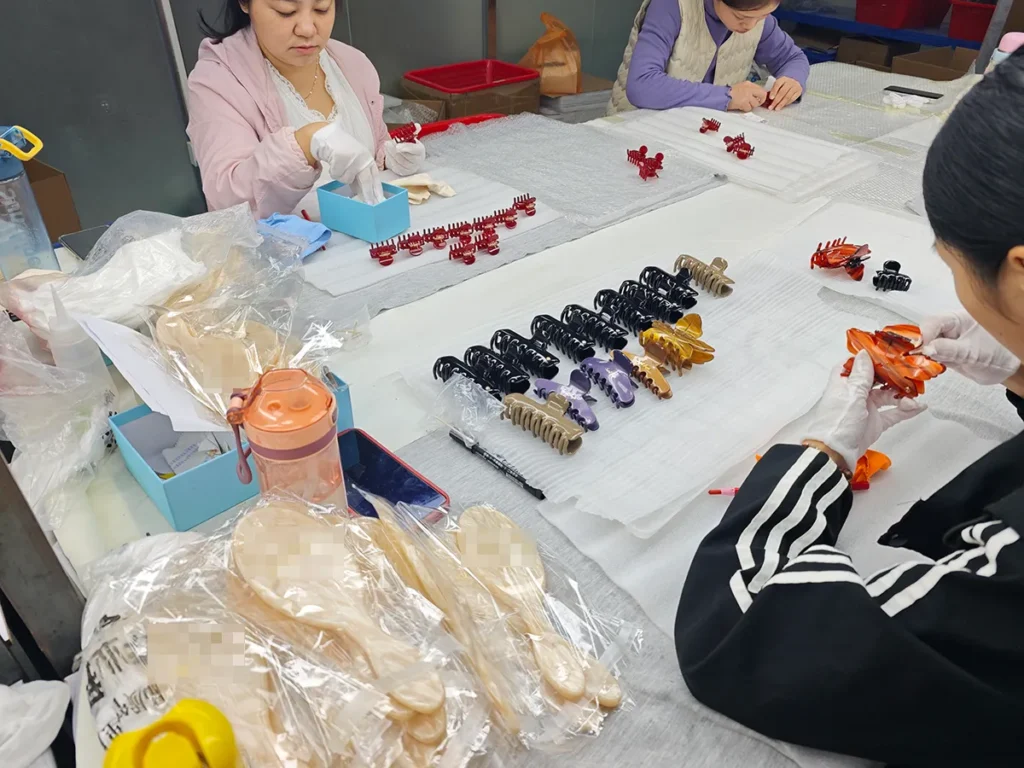
Two things worth specifying before production: the spring material — stainless steel if the range will be sold in humid or coastal markets, where ordinary carbon steel can bloom rust through the joint — and whether your market requires nickel-release testing, which applies in the EU when metal touches skin. Both are cheap to get right up front and expensive to discover after shipping.
Step 7 — Inspection
Every piece is looked at under strong light. Acetate has failure modes that plastic does not: internal bubbles trapped in the sheet, cloudiness from a tool that ran hot, pattern that sits off-centre on the finished outline, and colour drift between sheet lots.
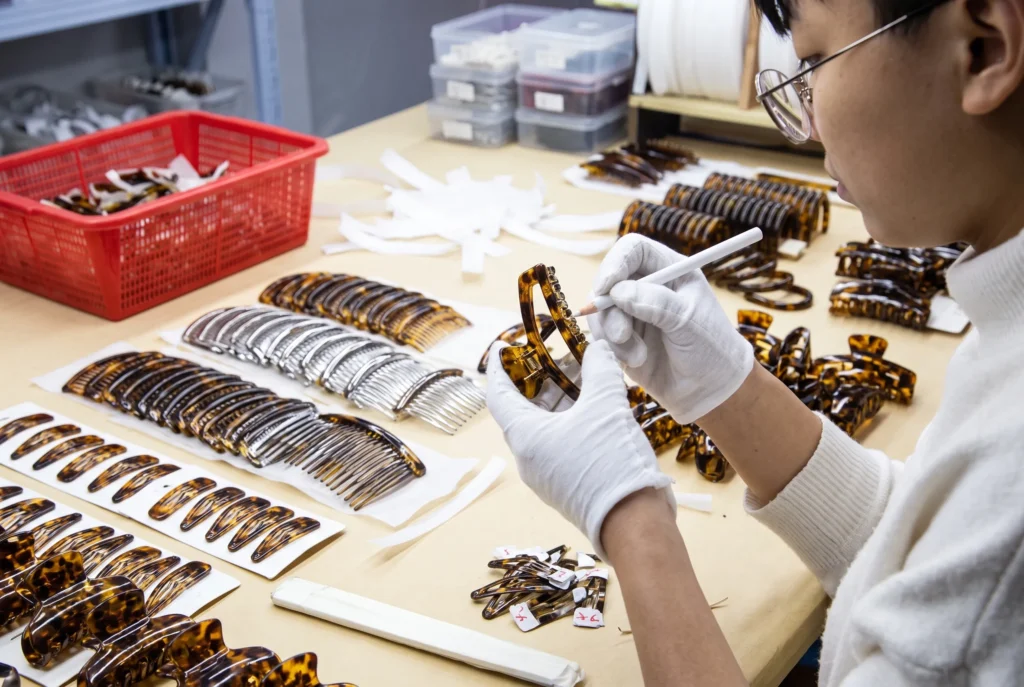
That last point deserves a warning. Because pattern is laminated into the sheet, no two pieces are identical and sheet lots vary slightly. Retain your approved sample and agree a tolerance in writing before production. Brands that skip this occasionally reject a shipment for variation that is inherent to the material — and a reasonable supplier will tell you that at quotation stage, not after.
Step 8 — Packing
Finished goods are polybagged or boxed, cartoned and palletised. Retail-ready packing — backer cards, printed boxes, barcodes, country-of-origin marking — is arranged here to your artwork.
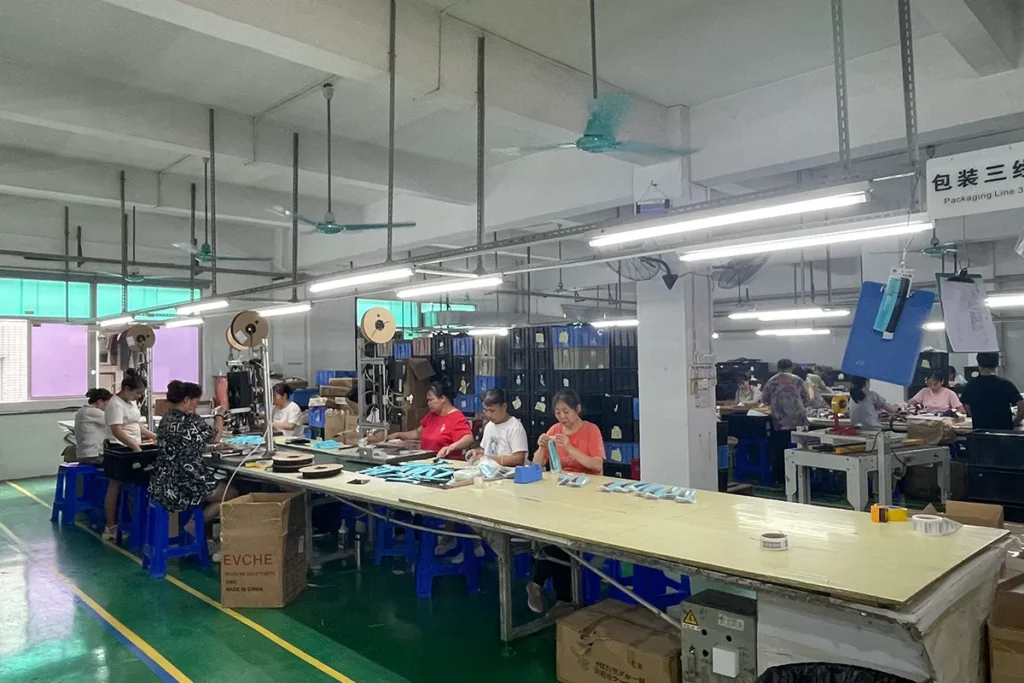
Packaging artwork is the most common cause of a late shipment we see, and it has nothing to do with production. Goods finish on time, then sit while a barcode is corrected or a print proof waits for approval. Lock your artwork at the same time you approve the sample.
Timeline and Minimums
Adding the steps together gives a realistic schedule for a first order:
| Stage | Working days |
|---|---|
| Drawing review and cutting file | 2–3 |
| Sample production and polishing | 15–20 |
| Your review and approval | your call |
| Bulk production | 25–45 |
| Sea freight to EU / US | 30–40 |
Minimums follow the labour, not the material. Our standard order minimums are:
- Acetate claw clips, barrettes and clip-type products — 500 pcs per design
- Acetate combs, brushes and hair forks — 1,000 pcs per design
- Wood and bamboo products — depends on shape and finishing; send us the design and we will give you the real number rather than a placeholder
Those are per design, not per order. Splitting one design across several stock patterns is usually possible within the same minimum, which is how most brands launch a range without multiplying their inventory. Our pastel bow-sculpted claw clip and large banana claw clip both ship in multiple colourways off a single tooling-free programme.
Three Questions That Reveal a Real Acetate Factory
- “How long do your barrels run?” Anyone quoting a same-week finish is either buying finished goods elsewhere or coating them.
- “Can you send a video of the tumbling room?” Barrels are noisy, dusty and unglamorous. Trading companies rarely have footage of one.
- “What is your sheet supplier’s minimum for a custom colour?” A factory that buys sheet directly knows this number immediately.
If you are at the earlier stage of choosing between materials at all, start with our materials comparison, or browse what the process produces across the acetate range, from dual-tooth combs to U-shaped hair forks. When you have a design and a quantity, send it over and we will come back with a costed schedule rather than a single number.
Acetate Combs We Make